 |
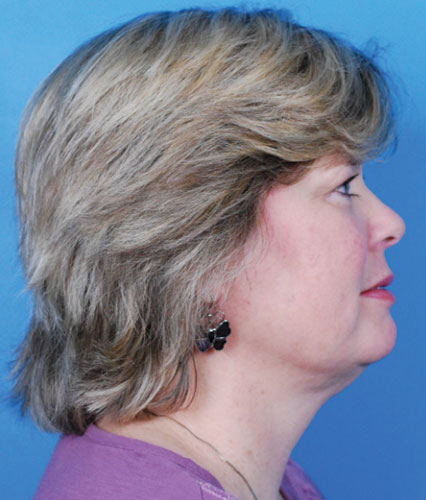 |


 Raleigh, NC | Triangle Facial Plastic Surgery
|
|
|
Triangle Facial Plastic Surgery
9104 Falls of Neuse Rd #204
Raleigh, NC 27615
P: (919) 706-4900
F: (919) 706-4901
Open Monday - Friday | 9am - 5pm
Monthly Specials, Patient Results & More!
Triangle Facial Plastic Surgery
9104 Falls of Neuse Rd #204